How to Install a Roman Blind
Installing a Roman blind is a great way to add style and functionality to your windows. These classic window coverings offer a sleek and elegant look while providing privacy and light control. If you’re considering installing a Rom
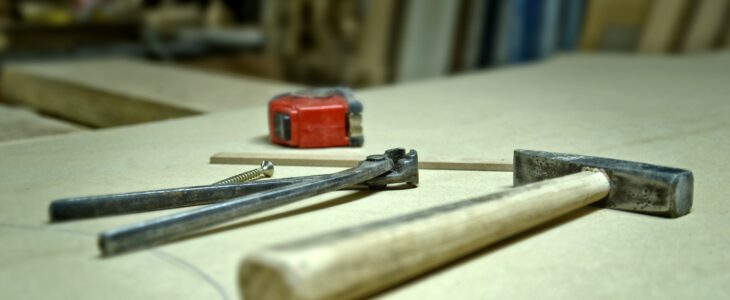
Gather the Necessary Tools
Before you begin, gather the tools you’ll need for the installation. These typically include a tape measure, a pencil, a screwdriver, a spirit level, and wall plugs (if not included with the blind’s hardware). Having all the tools on hand will make the installation process smoother and more efficient.
Measure the Window
Start by measuring the window where you plan to install the Roman blind. Measure the width of the window recess or the desired width of the blind if you prefer an outside mount. Also, measure the drop from the top of the recess to the desired length of the blind. These measurements will help you choose the right-sized blind and determine the placement of the brackets.
Mark the Bracket Positions
Using a pencil, mark the positions for the brackets on the inside of the window recess or on the wall for an outside mount. Ensure the marks are level and symmetrical. For a standard installation, place the brackets approximately 15-20 cm in from each side of the recess. If your blind is wider, you may need additional brackets for support.
Install the Brackets
Next, install the brackets using the provided screws and a screwdriver. For the inside mount, align the brackets with the marked positions and screw them into place. For the outside mount, position the brackets on the wall above the window, making sure they are level with each other. Use wall plugs if necessary to ensure a secure hold.
Attach the Blind to the Brackets
Once the brackets are securely in place, it’s time to attach the Roman blind. Most Roman blinds come with a headrail or a hook-and-loop system. Slide the headrail onto the brackets or secure the blind to the hook-and-loop strips according to the manufacturer’s instructions. Ensure that the blind is centred and level.
Test the Operation
After attaching the blind, test its operation to make sure it raises and lowers smoothly. Pull the cord or chain gently to raise the blind, and release it to lower it. Ensure that the blind is level and doesn’t tilt to one side. If adjustments are needed, refer to the installation instructions provided by the manufacturer.
Finishing Touches
Once the blind is installed and operational, make any necessary adjustments to ensure it hangs evenly and aligns with the window. Trim any excess cord or chain, if applicable, to ensure a tidy appearance and prevent potential hazards. Finally, give the blind a thorough inspection to ensure it’s securely in place and functioning properly. In conclusion, installing a Roman blind can be a straightforward process with the right tools and guidance. By following these steps, you can enjoy the functional and aesthetic benefits of a Roman blind in your home. Remember to refer to the specific instructions provided by the manufacturer for your particular blind model. With your newly installed Roman blind, you can enhance your windows with a touch of elegance and enjoy the privacy and light control it offers.